| |
Vertex Bake
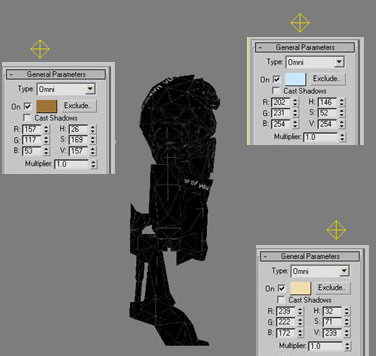
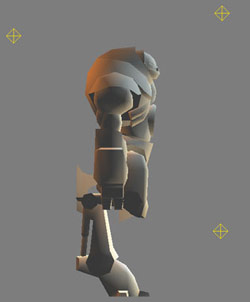
1: Start by placing your lights in the scene. In this case I simply used omni lights. I chose brown/orange, blue, and yellow lights and placed them so that they played against each other and cause a nice gradation on the mesh. The Blue represents my main light, which is coming from above the character. The yellow is my backlighting and is meant to be subtle. The brown/orange is used to focus the lights to the front of the model. Since most characters are always facing you in game and/or running forward this helps give the shading more depth in a focused area.

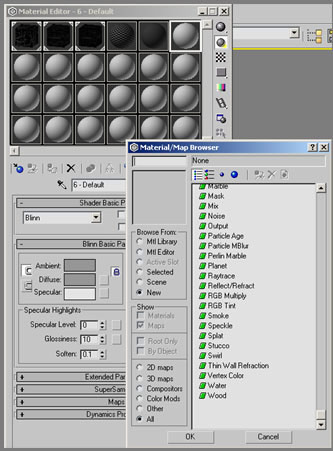
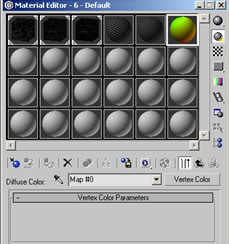
2: Setting up the material. In you material editor select the “Diffuse” tab and assign it to Vertex Color

You will know it’s correct when it looks like this:

Assign the material to the mesh:

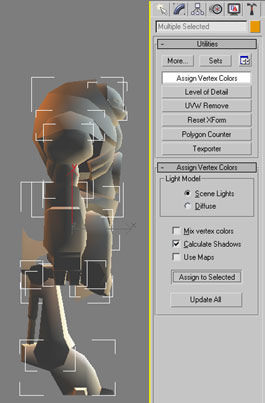
3: Baking the vertex color into the mesh: Go to the utility panel
and click on “Assign Vertex Colors”. You might have to click on “More” to find it. Make sure the settings are as displayed:
Scene Lights and Calculate Shadows. Press “Assign to Selected”.

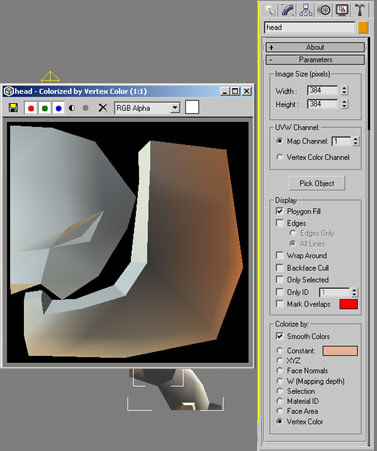
4: Outputting the mesh. Ok the vertex colors are burned into the mesh simply go to Texporter and put it on the size of your choice, Polygon Fill, and Vertex Color and your done.

|
|


